Tutorial
Step-by-step guide of building back-end services for car washing web application using @imqueue.
For those who prefer to learn by example.
Table Of Contents
Chapter 1. Introduction
Next Chapters
Tour Of Cars Washing
Within this tutorial we are going to learn by example how to build back-end services for car washing time reservations application, disclose all fundamentals of using @imqueue framework.
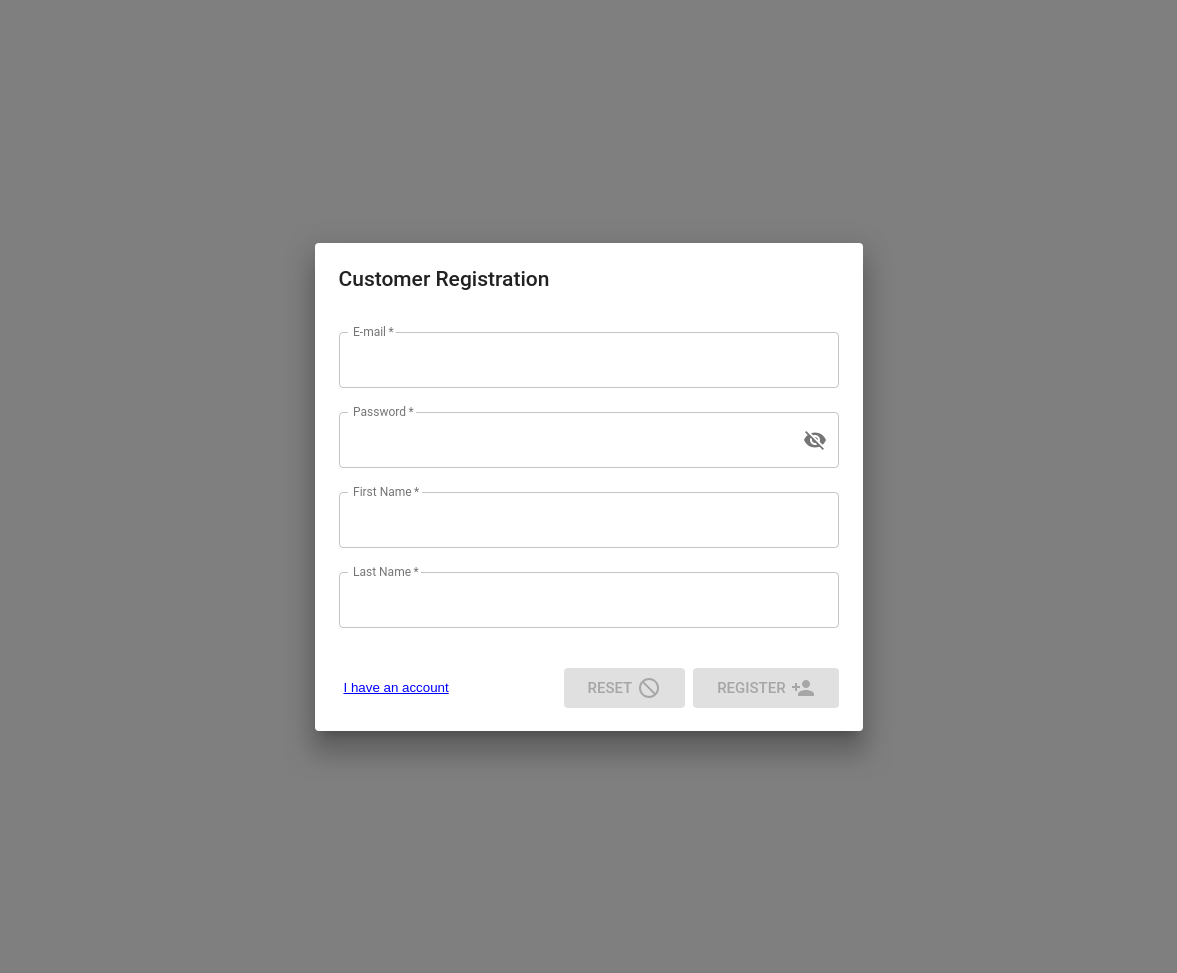
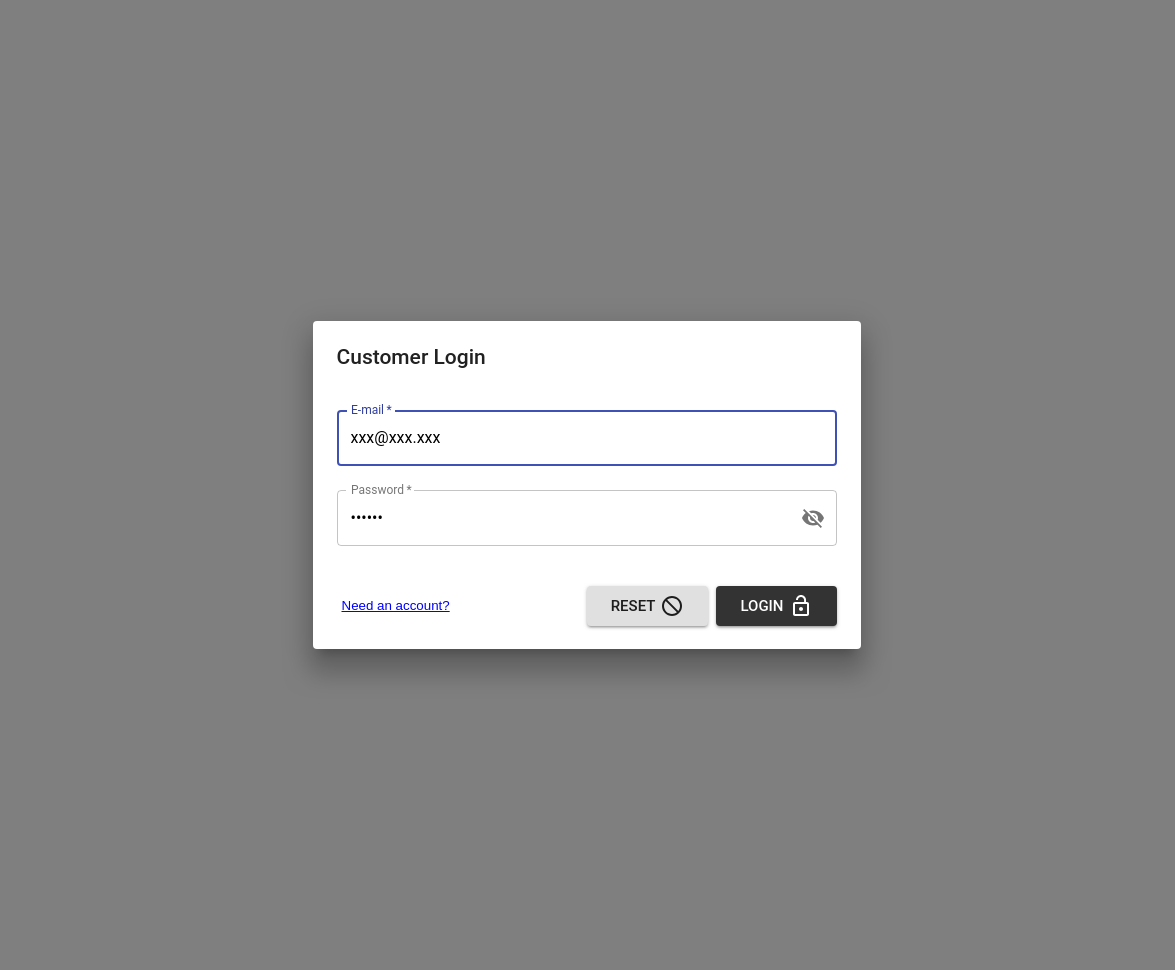
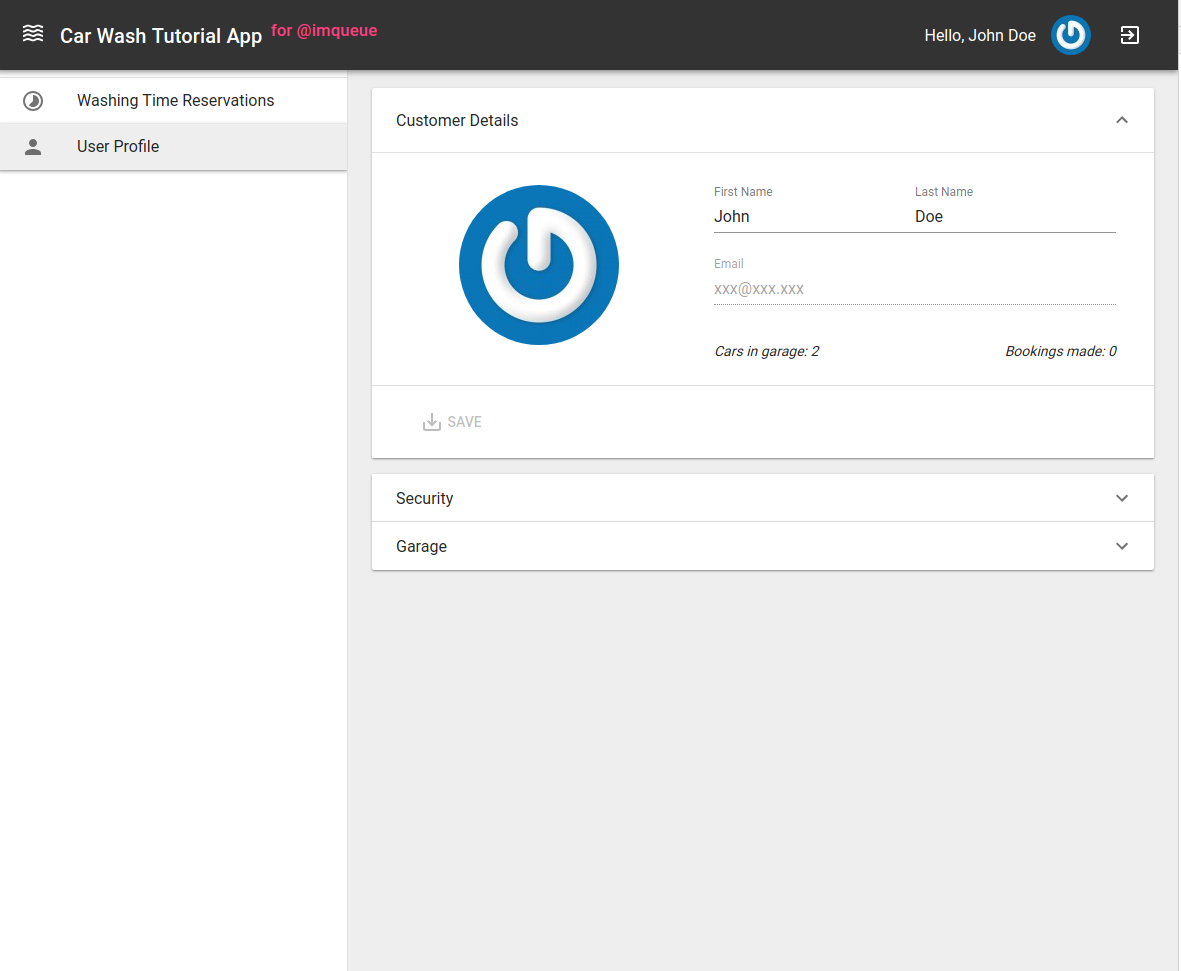
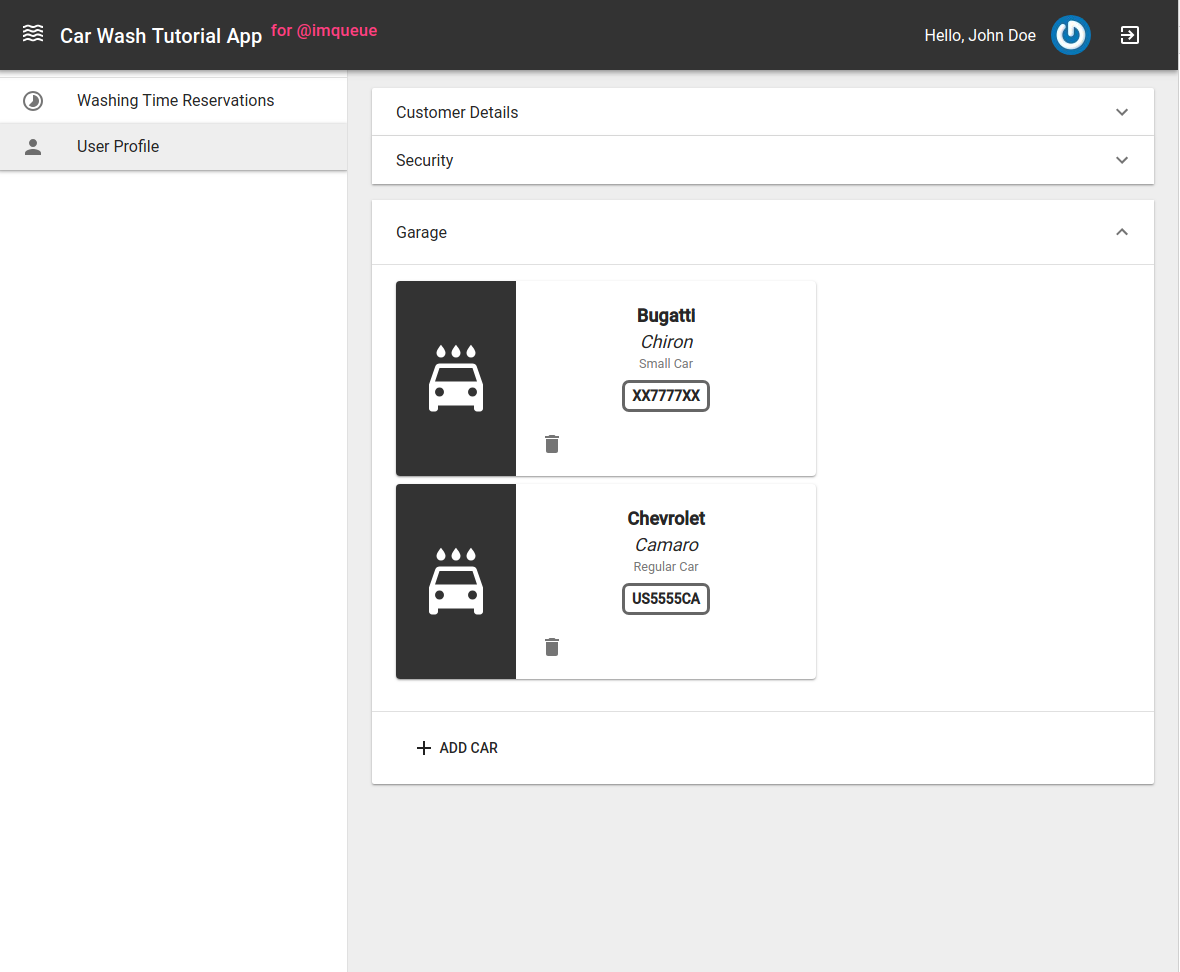
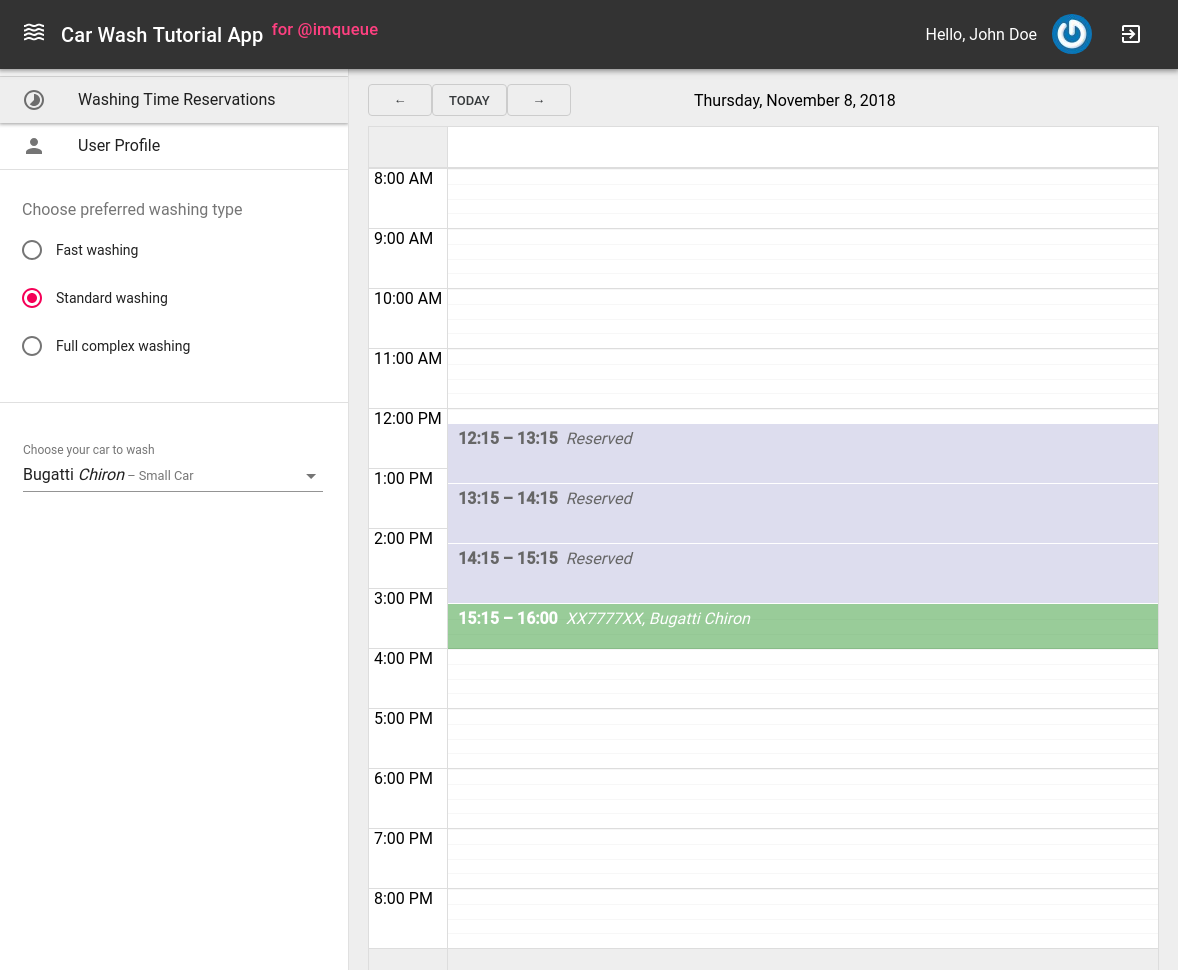
Here is a visual idea of what our application should look like for the end user.
You can get the entire set of tutorial application source codes at GitHub.
Architecture
By a reason let’s assume we decided to build-up our web application using React/Relay/GraphQL stack of technologies on a Front-End backed by GraphQL API endpoint in front of @imqueue based services at Back-End.
While a Front-end Team is working on creating specified user interfaces we will focus on creating back-end services in this tutorial.
Let’s agree we suggested to split our back-end system into a set of small decoupled services, each of which can be developed in a parallel by small teams. Due to requirements we decided the following services to be implemented:
- User service - implements user data manipulations. Team choice of technologies are: NodeJS/TypeScript, @imqueue over Redis, MongoDB.
- Auth service - implements authentication routines. Team choice of technologies are: NodeJS/TypeScript, @imqueue over Redis, JSON Web tokens, Redis.
- Car service - implements cars data service. Team choice of technologies are: NodeJS/TypeScript, @imqueue over Redis, static data source with custom in-memory data storage.
- Time-Table service - time reservations service implementing an ability to manage reservation events. Team choice of technologies are: NodeJS/TypeScript, @imqueue over Redis, PostgreSQL as data storage engine.
- API endpoint service - implements GraphQL endpoint service which orchestrates data access to underlying services, described above. Team choice of technologies are: NodeJS/TypeScript, @imqueue over Redis to access underlying services and graphql, graphql-relay, express, express-graphql for implementing GraphQL endpoint access over HTTP/HTTPS.
Hence, our high-level architecture of application will look like this:

Getting All Benefits
Command line tool for @imqueue provides an ability to integrate 3-rd party
development tools, like Travis CI, DockerHub and GitHub within the default
template, so while the service is created using the tool, we can gain all
benefits of automatically set up repository, continuous integration and docker
image builds with a single command. So, what we going to do as the first step is
to install and configure @imqueue/cli.
Preparing Development Environment
Before the start we need to set up NodeJS. It is recommended to be installed using NVM
As we agreed, we will also need to have Redis, MongoDB and PostgreSQL installed. You can install them in your system using any comfortable way, like using docker images, for example: Mongo, Redis, PostgreSQL.
Or just directly install them in your system if there are no objections doing that.
Installing @imqueue/cli
As told above, command line tool allows integrations with GitHub, DockerHub and TravisCI. You may consider CLI to do that or not. If not, it will only create local folders and files. So, during the installation of the tool you have to make a choice for that.
If you decide to use integrations, you must prepare GitHub and DockerHub namespaces. For GitHub you should use your user namespace or create an organisation. The same is for DockerHub.
- Go to GitHub. Create an account or log into existing. Go to “Settings” -> “Organizations”. Click “New organisation” and create the one you will use as a namespace. Or just use your account name as a namespace for publishing your app repositories. You will also need to create an auth token which grants @imqueue/cli to create and write to repositories in that namespace. To do that, go to “Settings” -> “Developer settings” -> “Personal auth token” and create one.
- Go to DockerHub. Create an account or log-in existing. Go to “Organizations” tab and add a new organisation which you will use as a namespace for publishing your app images.
So, let’s start. Just run a command:
npm i -g @imqueue/cli
At the end it will launch interactive configuration wizard. Just follow the steps to complete your @imqueue/cli configuration.
After all these preparations are done, we are ready to go to create our first service.
Go to the next chapter - Creating First Service: User Service.